 10 July 2026
 Share
Share
1
Keeping kitchen counters clutter-free can make a big difference in how your kitchen feels and functions. A tidy workspace not only looks inviting but also makes cooking and cleaning easier. If you find your counters overcrowded with appliances, utensils, and other items, this guide will help you create a clean, organized space.
Kitchen counters are one of the busiest spots in your home. They serve as prep areas, landing zones for groceries, and sometimes places to eat or work. When these surfaces are cluttered, it can be hard to find what you need or even prepare meals efficiently. By keeping counters clear, you improve your kitchen’s appearance, increase your workspace, and reduce stress.
Start by removing everything from your counters. This step gives you a blank canvas and helps you assess what you really need on hand. Use this time to wipe down the surfaces thoroughly, removing crumbs and sticky spots.
Once your counters are empty, sort items into categories such as:
– Daily-use appliances (coffee maker, toaster)
– Cooking utensils (spatulas, knives)
– Food items (fruits, spices)
– Cleaning supplies (dish soap, towels)
– Miscellaneous (mail, keys)
Grouping items allows you to see which zones in your kitchen require easy access and which items can be stored away.
Try to keep only essentials on the counter — those you use every day or multiple times a week. Examples include:
– Coffee machine if you brew daily
– Salt and pepper shakers
– A cutting board
Other items, like rarely used appliances or bulky containers, should find a home in cabinets or pantry shelves.
When counter space is limited, think vertically or out of sight.
– Wall-mounted racks or magnetic strips: These can hold knives, spice jars, or utensils, freeing counter space.
– Under-cabinet hooks: Hang mugs or small baskets below cabinets.
– Pull-out drawers and organizers: Great for tucking away items without losing accessibility.
– Appliance garages: Specialized cabinets that hide small appliances but keep them close.
Assign specific areas on the counter for particular tasks or items. For example:
– Coffee station: Place your coffee maker, mugs, and coffee supplies together.
– Prep zone: Keep cutting boards, knives, and mixing bowls handy.
– Baking station: Store measuring cups, mixing utensils, and baking ingredients nearby.
This approach helps keep counters orderly and reduces the temptation to spread items everywhere.
Cords from appliances can add to the cluttered look. Use these tips:
– Shorten cords with ties or clips.
– Hide cords behind appliances.
– Use power strips with built-in cable management.
– Charge phones and tablets away from food prep areas.
Maintaining a clutter-free counter requires ongoing effort.
– Set a weekly routine to clear off items not needed.
– Wipe down counters daily to keep them inviting.
– Reassess which items belong on counters each season or as your habits change.
Kitchen counters often become catch-alls for mail, coupons, recipes, and notes.
– Use a wall-mounted organizer or a bulletin board.
– Assign a specific basket or tray for incoming papers.
– Go digital when possible to reduce paper accumulation.
– Choose storage containers wisely: Clear, uniform containers for dry goods create a streamlined look.
– Incorporate decorative elements sparingly: A small plant or bowl of fresh fruit adds life without adding clutter.
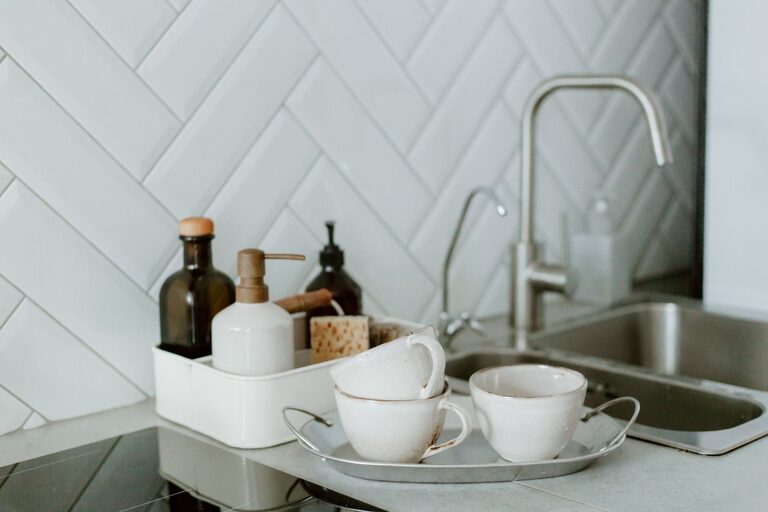
– Keep cleaning supplies accessible but neat: Store sponges and towels in designated holders.
—
A clutter-free kitchen counter makes cooking and daily tasks more enjoyable while enhancing your kitchen’s aesthetic. By thoughtfully organizing, limiting items on display, and maintaining your space, you’ll create a kitchen that feels both welcoming and efficient. Start with a clear surface today, and enjoy the benefits of a tidy kitchen tomorrow!